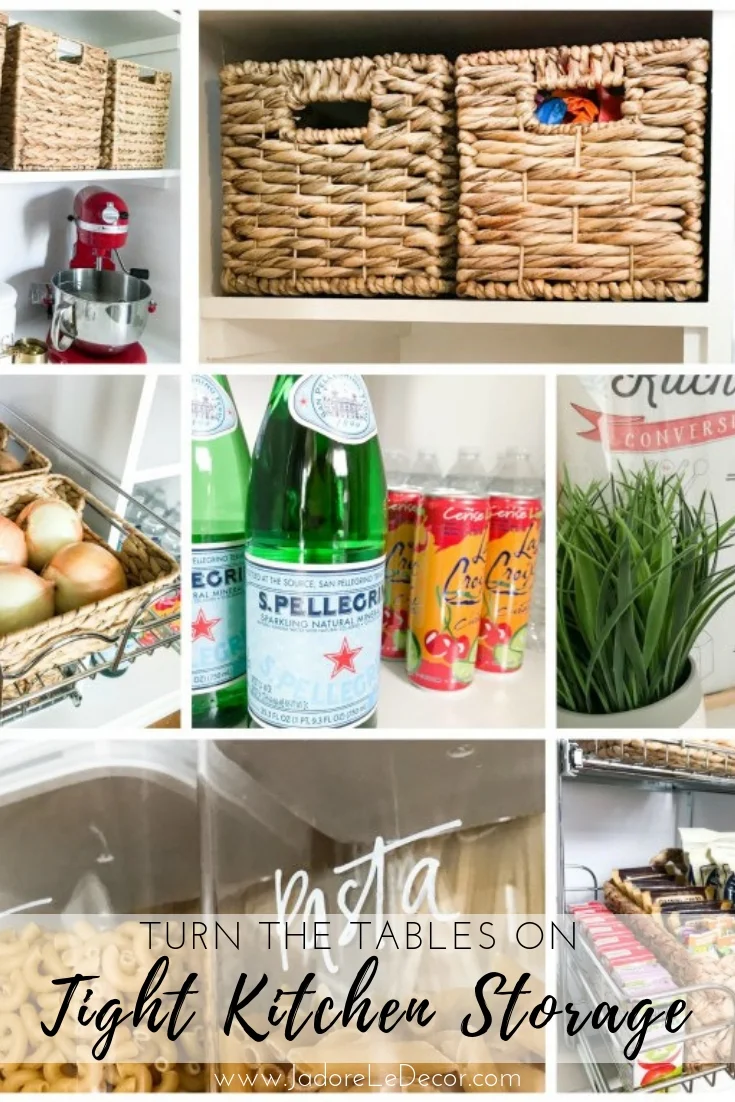
How to Turn the Tables on Tight Kitchen Storage
Pinterest and Instagram can quickly fool you into believing that everyone in the world has a perfectly designed kitchen – except you. But I am living proof that it’s simply not true, and I’m sure I’m not alone.
You will not find any soft-close drawers, snazzy built-in spice racks, or a beautiful glass front pantry in my petite kitchen. Despite those shortcomings, you will find space for just about everything you need to whip up an unforgettable meal. You’ll also find a place that has just enough glam to make you want to hang out there. With a few changes you will be able to say the same.
This is Week 2, Part 2 of the Whole House Organization Challenge where we’re focusing on organizing the kitchen. If you’ve been following along, by now your kitchen drawers, food storage containers, pot and pans should all be purged and organized. Next up, we’ll tackle the food.
Affiliate links may be included in this post. This means that should you purchase a linked product, I may receive a small commission, but at no additional cost to you. To read my full disclosure click here.
Trust and Follow the Organization Process to be Successful
As with all the spaces, we will trust and follow the process that works:
1. EMPTY your space. Pull out ALL of the food
2. SCRUB the area empty area clean
3. TOSS any food item that is past its expiration date.
4. GROUP the remaining items according to likeness
5. MEASURE the insides of the cabinets before purchasing organization systems.
6. RETURN items to the cabinets with your new system(s) in place.
IMPORTANT TIP: After arranging the food in your pantry and cabinets, you should be able to:
Find what you need
Assess quickly what needs to be replenished
Return things easily once they’ve served their purpose
*(Remember, an organized space will take you F.A.R.)
Avoid These Common Food Storage Pitfalls
1. Too Much Stuff
It’s time to face the facts. If you have a small kitchen you must to reduce the amount of stuff you have. Do you really need ALL of it? When was the last time you used item XYZ? Will you be able to use that food item BEFORE it expires?
If its a non-food item that you can’t part with it, place it in a box of other “untouchables” and send it to storage, or to the home of a friend or relative. If you don’t miss it after another 6 months to a year, you know what to do with it. The great part is that your friend or relative will surely remind you to do so.
2. Keeping Food in its Original Packaging
Dry food packaging takes up a lot of valuable real estate. You might be surprised to see the amount of space you gain just by removing those crackers and cereals from their original packaging. Notice in the photo below, how much space Nicole lost in her pantry by keeping items in their original packaging.
3. Buying your storage solutions first.
You can’t organize a space without first knowing the size of the area you’re working with, and planning takes a bit of brain work. I can’t tell you how often I see people rushing out to the stores to buy all these amazing solutions, only to return home to find they don’t fit. Avoid this frustrating and vicious cycle by simply measuring your space first. My WHO Worksheet is designed to help you keep those details in one place.
4. Looking in the Wrong Places for Storage Solutions
Tight kitchens require different kinds of storage solutions. Instead of looking in the most obvious places, try scouting out the office supply, bath, and kids sections in your favorite stores. Look for wall pockets, small but stylish trash cans, and trays. Not only will items in these ares fit your needs better, but they’re also way less expensive than specialty organization stores.
Or, you may have to build something yourself that better fits your storage needs. This doesn’t need to cost a fortune. We will return once again to Nicole’s pantry to see how she 1) measured first and 2) customized an organization system to fit her needs perfectly.
5. Not Using the Receptacle within a Receptacle Method
I’ve learned that my organizational systems must be strong enough to help me curb bad habits. That means that sometimes, arranging things in a row will not be enough. So I layer my storage: one container, inside of another, inside of yet another.
Thus, sauces in their receptacles are placed inside of another receptacle (like a turn table or basket) and then the basket is ultimately placed in its final destination. Notice how Nicole used baskets, turn tables and pullout drawers to arrange her food stuffs in her finished pantry below
Notice how “solid” the results are. THIS, THIS is how you turn the tables on tight kitchen storage spaces! Although my pantry is considerably smaller, this is also the method I use. Would you like to know how Nicole and her husband built this fabulous pantry? Click here to view the entire process!


