How to Create and Organize a Guest Room from Virtually Nothing
Today starts Week 10 of the Whole House Organization (WHO) Challenge, where my aim is to organize my entire home in 14 weeks or less. But today we're taking a bit of a detour. Let me explain.
Having a space that is uniquely dedicated for guest stays is rare for small space dwellers. Most of our "guest" rooms are usually a combination of an office, sitting, workout, craft, dressing, or even a baby's room. I'll be sure to cover combination spaces in a later post.
However, recently I had the privilege of organizing a tiny "proper" guest room for a family home. Keep reading as I tell you all about it...
Affiliate links may be included in this post. This means that should you purchase a linked product, I may receive a small commission, but at no additional cost to you. To read my full disclosure click here.
The Home's Meaningful History
There's a small 3 bedroom, 1 bath home in Michigan that has been in my husband's family for years. Starting with Grandma and Grandad, in all, some 16 children, more than 50 grandchildren, countless great grandchildren, and in-laws have all helped create some kind of history between these walls.
Grandma is now 95 years old, and no longer lives there. However, since the home is situated only 10 minutes from beautiful Lake Michigan, it's a great - and free- getaway for family members. But with old homes, come lots of repairs. As such, this house has been under major construction.
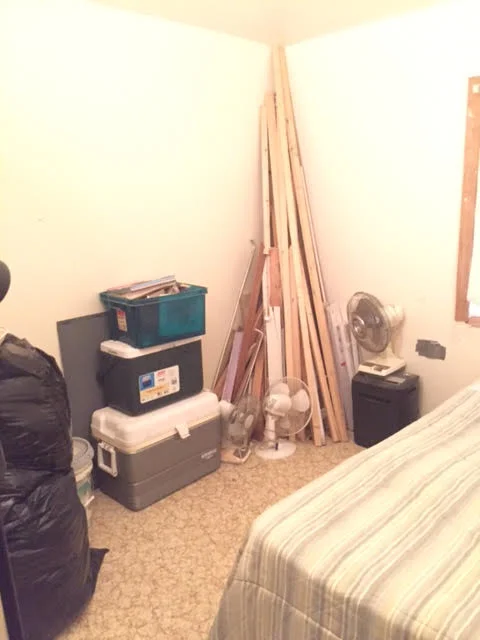
I desperately wanted to highlight this home's potential. So with permission from the family, I was allowed to transform a small 9x12 foot bedroom into a proper guest room. Below is a photo of what I started with.
As you can see, this room (along with one other bedroom, not shown) became a dumping ground for the overflow of construction materials. So after clearing the area, I was left with a tiny space that was in desperate need of some love.
An organization project - especially when you're starting with virtually nothing - can quickly spiral into a full-fledged decorating spree. So to keep myself focused, I settled on a budget of $125 to do EVERYTHING needed to make this room look like a welcoming guest room.
How to Create a Guest Room on a Strict Budget
To accomplish this, I took stock of the furniture and decor pieces already in the homethat I could re-purpose for the space. I then added unused furniture items from other family members - myself included. As a result, I ended up with the following items as my base for the room:
- a bed frame with full sized mattress set
- a headboard
- two wrought ironed night stands
- a small 3-drawer dresser
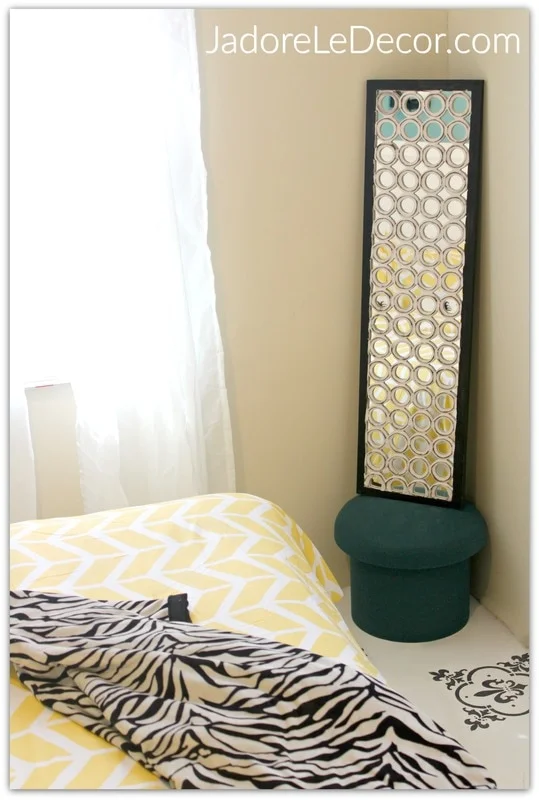
- a dark teal green ottoman (which served as the inspiration color for the room)
- a few decorative wall pieces
TIP: Before running out to purchase new organization systems or furniture, assess what you already have. Is there a room in the home that is a bit overcrowded with furniture? Can some items be re-purposed for a new use? If your budget for getting a room in order is very modest, ask for unused or unwanted furniture from friends and family members.
Paint is always my go-to for a dramatic change. So using a combination of chalk paint, latex wall paint, and floor and porch paint, we painted everything...the walls, the window trim, the headboard - even the vinyl floor.
TIP: Paint can do wonders, and many cosmetic problems can be fixed with it. Just be sure to choose the right kind of paint for your project. Consult your home improvement store before purchasing.
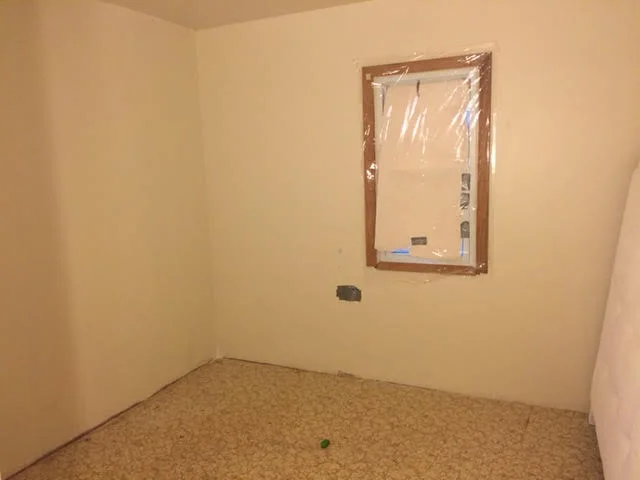
So after applying paint to nearly every surface of the room, we finally had a solid foundation to work with.
As you can see, things were really starting to take shape!
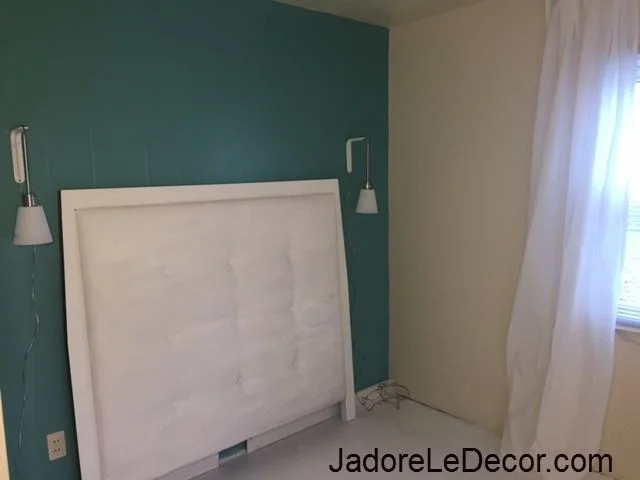
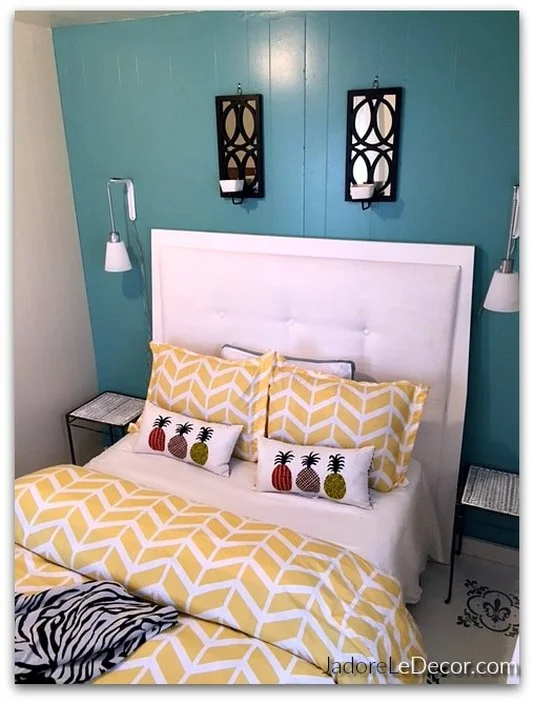
We painted the old yellow linoleum floor with Floor & Porch paint (ivory) which I found on clearance at Wal-Mart. I then hung these curtains ($9.99/2-panels), along with the plug-in sconces ($9.99/each) all from IKEA . Afterwards, I brought in a headboard that I already had on hand. It was originally a dark burgundy color. I painted it white usingFolk Art Chalk paint.
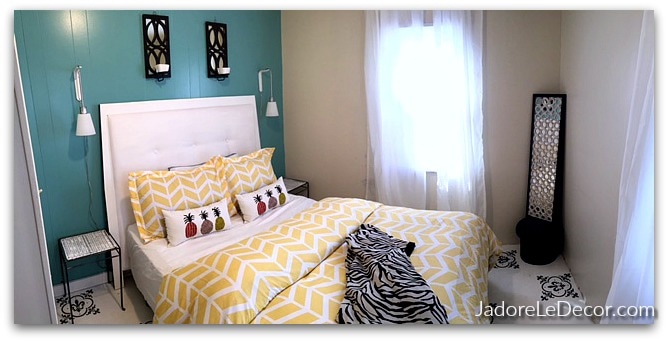
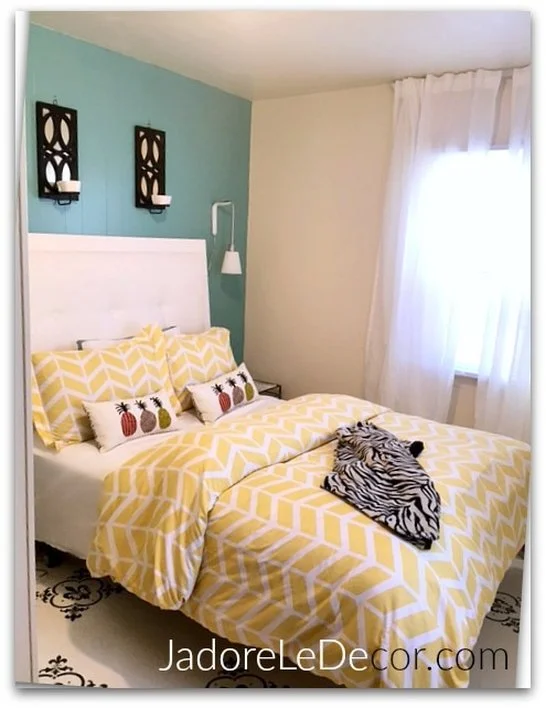
Finally, to hide some of the imperfections in the old linoleum, I stenciled the floor. After loading in the rest of my collection of re-purposed items, here was the result.
I can hardly believe this is the same room! Doesn't it appear larger? And how appropriate it was that I was able to find these pineapple themed toss pillows at Target for $9.99 each. Did you know that the pineapple symbolizes warmth, friendship and hospitality, and was even considered a status symbol for the wealthy?
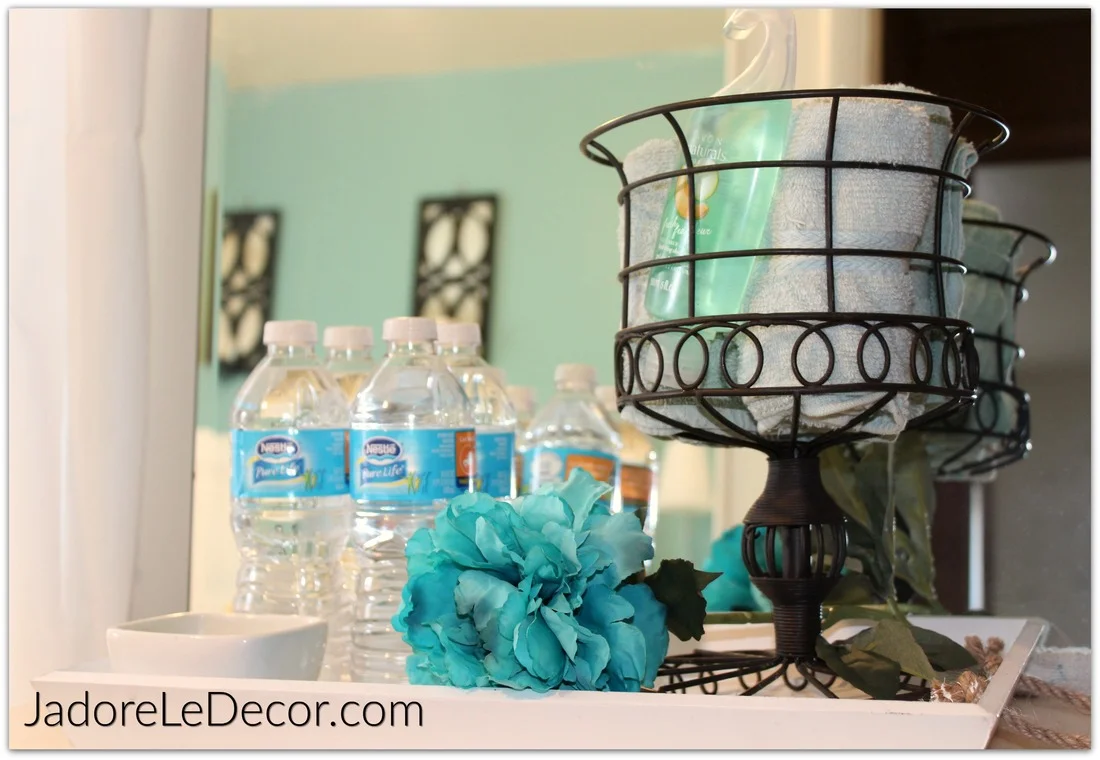
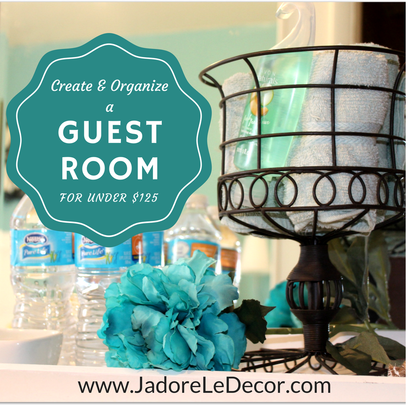
To make guests feel extra special, I arranged a tray on the small dresser with water, towels, bath gel, and a small candle. Again, these were items we already had on hand.
So here is the breakdown of the out of pocket costs:
- 2 IKEA pendant lights $9.99/each ($20)
- 2 sets of IKEA VIVIAN curtains $9.99/each ($20) click for alternative
- 1 gallon Floor & Porch Paint (ivory/beige) on clearance ($13)
- a 3-piece duvet set found at ienjoyhome on ebay ($23)
- 1 gallon Dutch Boy, Hipster Blue paint, $23 minus $10 rebate ($13)
- 2 Target pineapple themed toss pillows $9.99/each ($20)
- 1 stencil borrowed from a colleague (Thanks Deneen!) FREE
- 1 pint of Dutch Boy charcoal floor & porch paint for stenciling ($13)
- Folk Art Chalk Paint, to paint headboard, already on hand ($0)
- GRAND TOTAL: $122.00
Please give me your thoughts on this project. I'm eager to know:
- Do you have a dedicated guest room?
- How do you prepare your spaces for guests?
